How to Setup Log in with Google

Andy
Last Update 4 года назад
Logging in with Google allows shoppers to bypass the manual registration process. The shopper can click on "Log in with Google" to register. A one-step process that adds a lot of convenience shoppers.
In this article, you'll learn how to set up a Google login to your store. There are a few things to know:
- You will need to take certain actions within your Google account.
- You will need to configure the Google App within your ecomnation Admin panel.
First, log in to your Google account and go to this website: https://console.developers.google.com
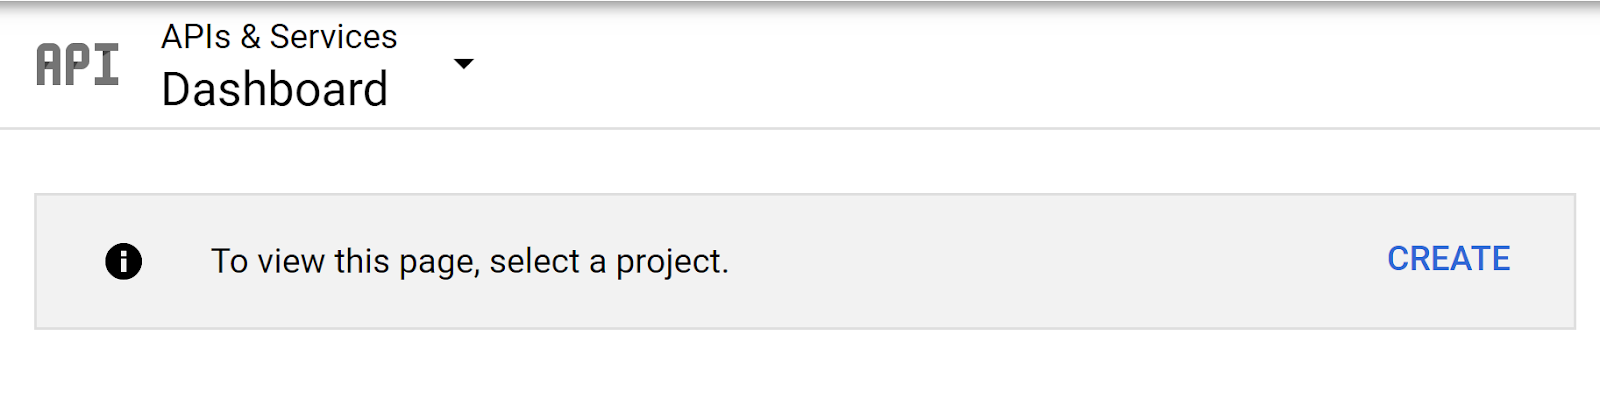
On your dashboard, click the blue CREATE link:
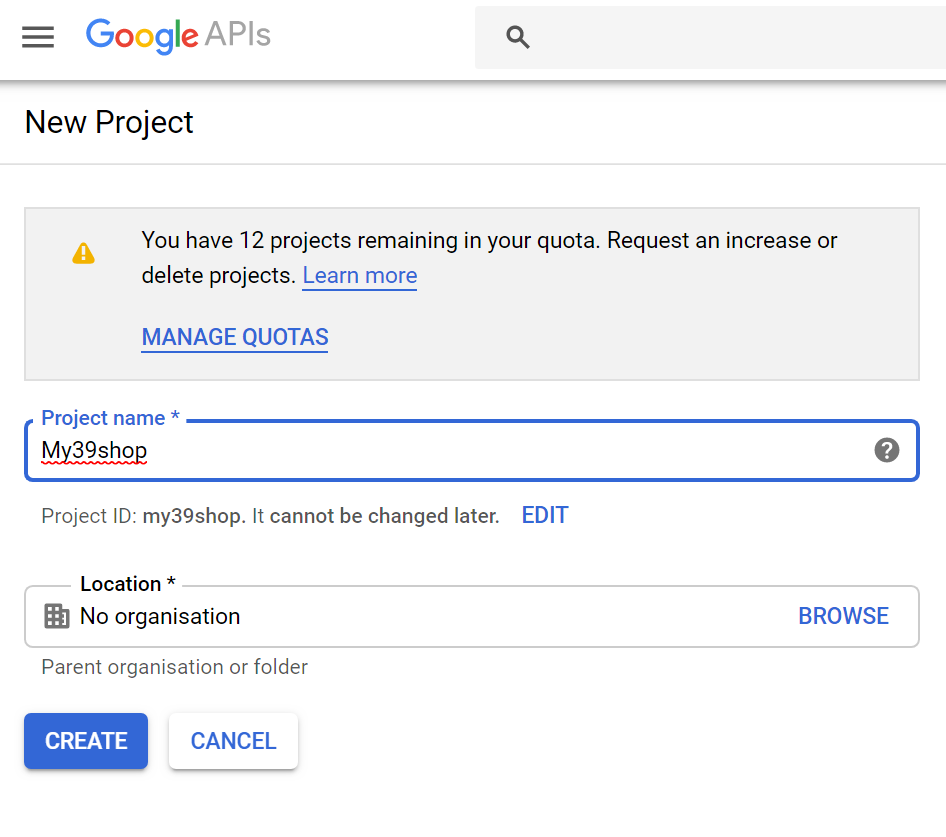
On the New Project page, provide a Project Name (such as your store name) and click the blue CREATE button:
On the created project, your API will not appear directly. Click the Enable APIS and Services on the top of the page. This will open a new page:

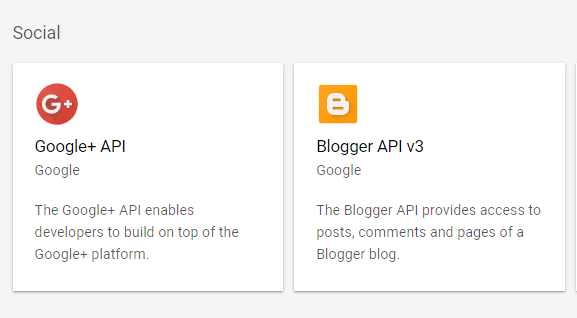
On the new page, scroll down, under the Social category, click Google+ API. It will take you to a new page:
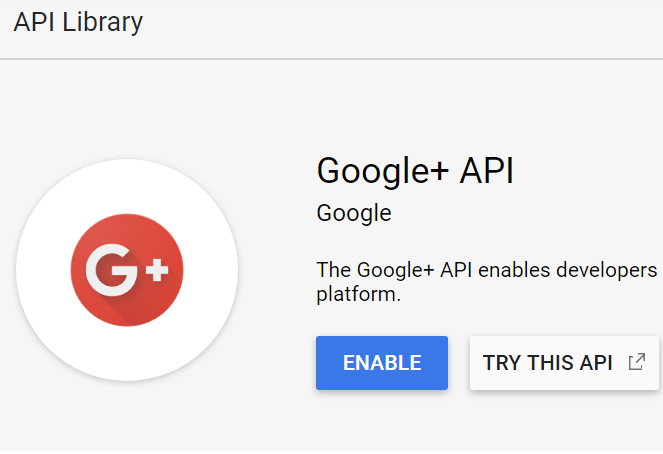
Click the blue ENABLE button:
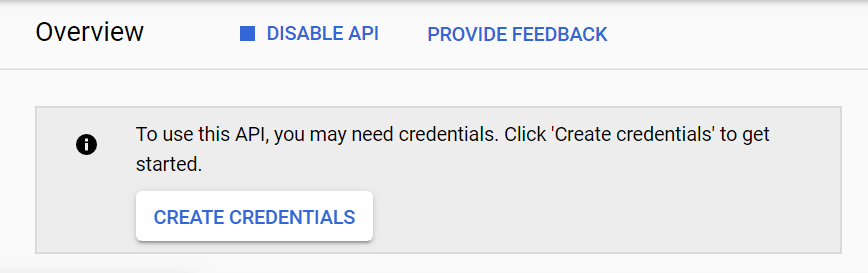
Then click the blue CREATE CREDENTIALS button:
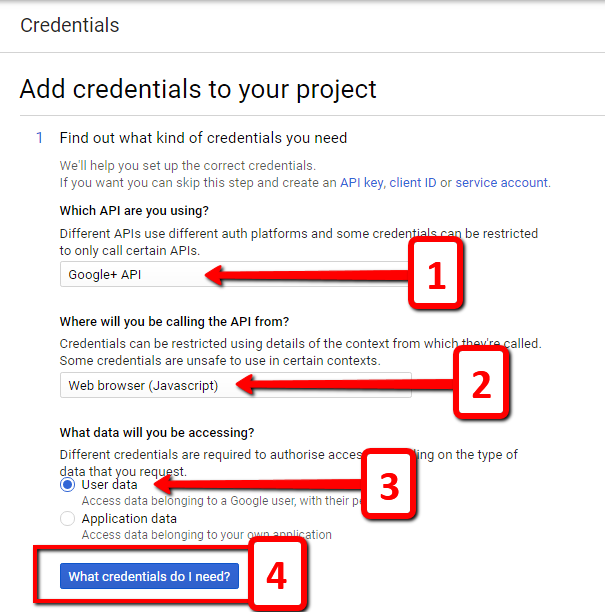
- In the drop-down menu, select Google + API [1] and a new-drop down will appear.
- Select Web Browser (Javascript) [2].
- Then select User Data [3].
- Click the blue What Credentials Do I Need? button [4] after choosing the appropriate changes. It will open a new tab:
- On the new tab, paste your e-commerce store URL into Authorized JavaScript Origins, then paste your redirect URI into Authorized Redirect URI. The redirect URI is the URL of your application appended with the path, auth/login/google/callback. (For example, https://yourstorename.com/customer/auth/google/callback). Make sure that you are using the HTTPS scheme.
- Then click Refresh.
- A new sub-menu will open, where you need to select SET UP CONSENT SCREEN.
- Fill in the required information and,
- When you’re all done making modifications, click the blue Save button at the bottom of the page.
Note: You will get an APP ID and APP Secret Key after completing the configuration. Copy it to a safe place as you will need it in the next steps.
To configure the app in your admin panel, login to your shop’s admin panel dashboard:
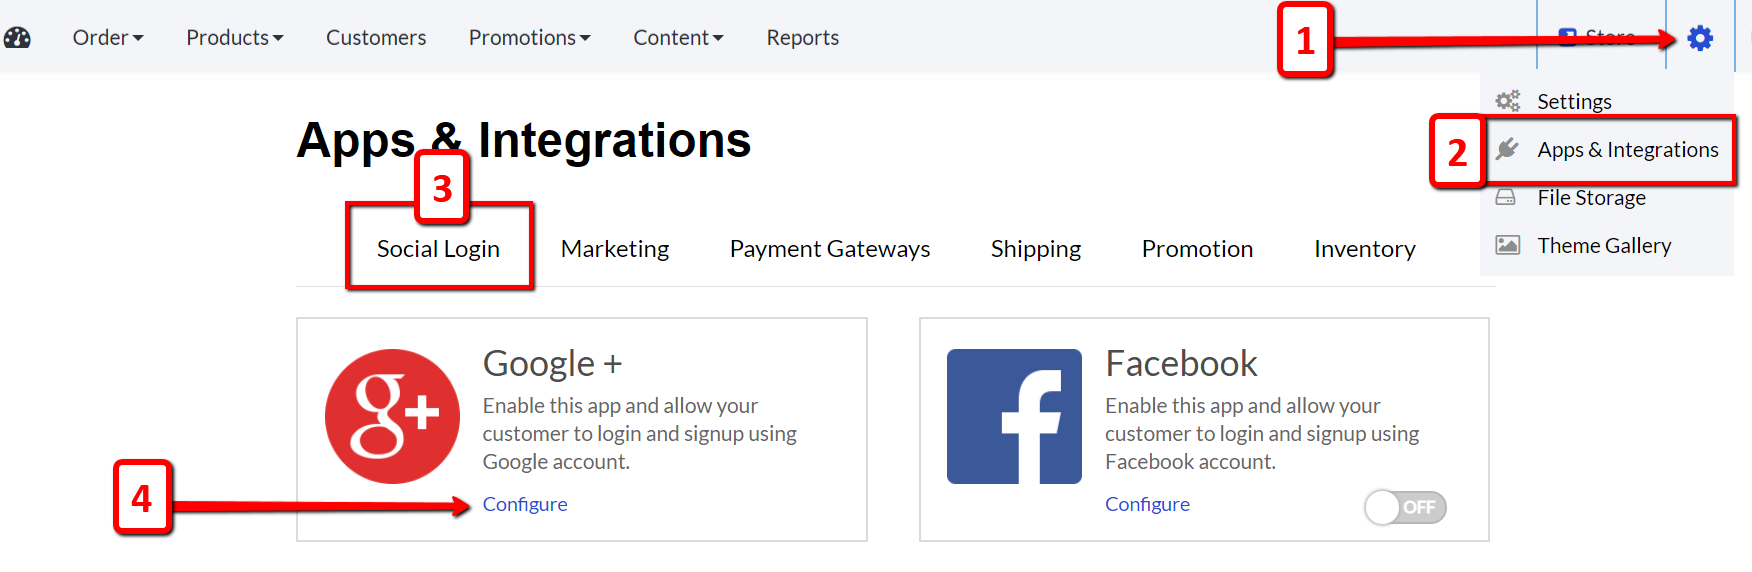
- Hover over the gear icon [1] and,
- Choose Apps & Integrations on the drop-down list [2].
- It will take you directly to the Social login menu [3].
- Navigate to the Google+ box and click on the blue Configure link underneath [4]:
Clicking the configure blue link will open a sub-menu:
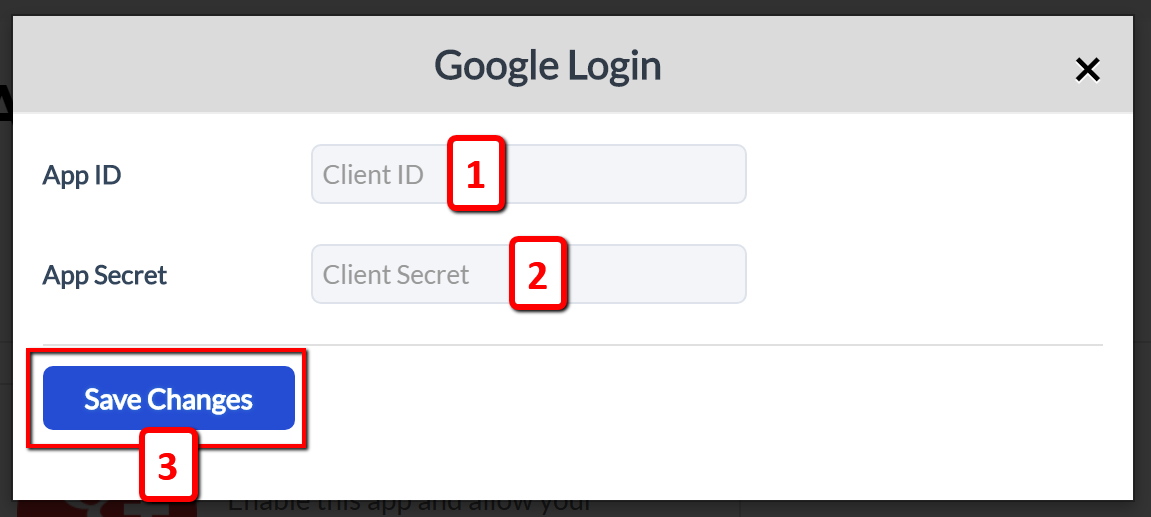
- Paste the App ID [1] and,
- Paste the App secret into the configuration empty fields [2].
- Make sure to hit the blue Save Changes button [3] after you're all done making modifications:
The Google+ app will automatically be turned ON after saving all of the changes described above.
All ecomnation templates comes with this Login with Google+ feature. Upon completing the steps above, Login with Google+ should be working. If your template doesn't work, you will need to follow additional steps to integrate the options to your online store.
Drop us a support request and we will be happy to help you out. Feel free to reach us out at [email protected].